
Monitoring blood pressure at home has become an important part of managing health, especially for elderly family members, working professionals, and patients with hypertension. However, many people unknowingly check their blood pressure the wrong way and get inaccurate readings.

If you are using a digital BP monitor at home, this complete guide will help you understand:
- How to use a blood pressure monitor correctly,
- common mistakes to avoid,
- normal blood pressure ranges,
- and tips for getting accurate readings.
At Healwell Surgitech, we believe healthcare decisions become easier when families have the right guidance.
Why Monitoring Blood Pressure at Home Matters
High blood pressure is often called a “silent problem” because many people do not notice symptoms early.
Regular blood pressure monitoring at home can help:
- Detect hypertension early,
- Track medication effectiveness,
- Reduce hospital visits,
- Improve long-term heart health,
- And help families stay informed about their loved ones’ health.
For elderly patients especially, regular BP checks can provide peace of mind and early warning signs if something changes.
What Is a Digital BP Monitor?
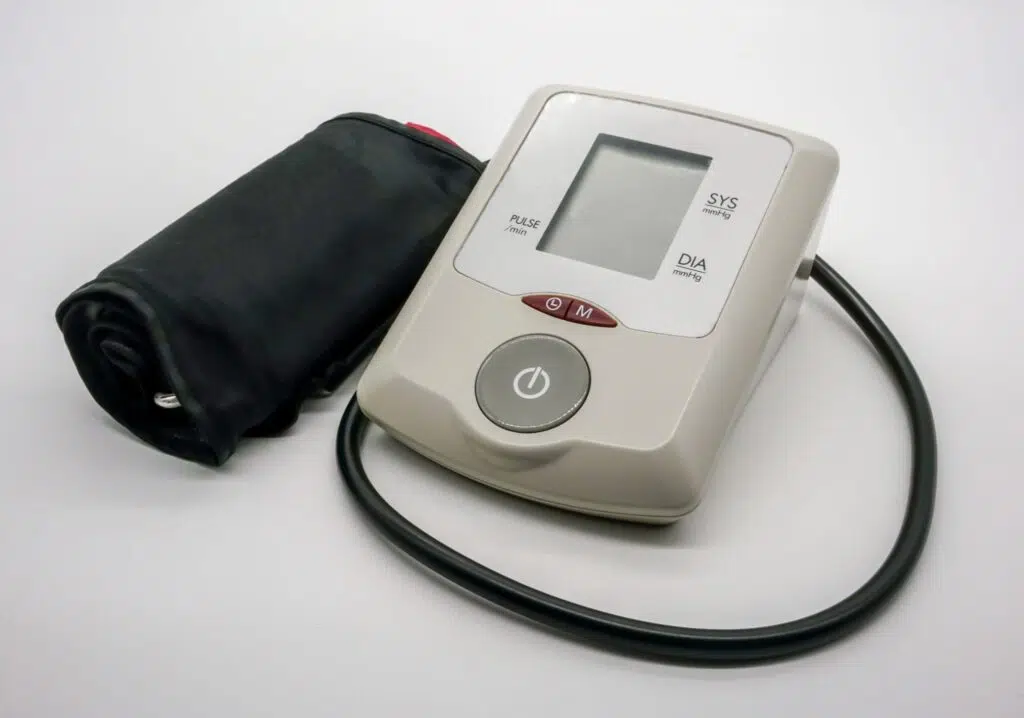
A digital blood pressure monitor is a medical device that measures:
- systolic blood pressure (upper number),
- diastolic blood pressure (lower number),
- and pulse rate.
Digital BP monitors are easy to use and suitable for home healthcare monitoring.
Many families today prefer automatic BP monitors because they are:
- simple,
- fast,
- portable,
- and convenient for daily use.
How to Use a BP Monitor Correctly at Home
Using a blood pressure machine properly is very important for accurate results.
Follow these simple steps carefully.
Step 1- Sit Calmly for 5 Minutes
Before checking your blood pressure:
- sit comfortably,
- relax your body,
- avoid talking,
- and take deep breaths.
Do not check BP immediately after:
- walking,
- climbing stairs,
- exercise,
- stress,
- or drinking tea/coffee.
Resting first gives more accurate readings.
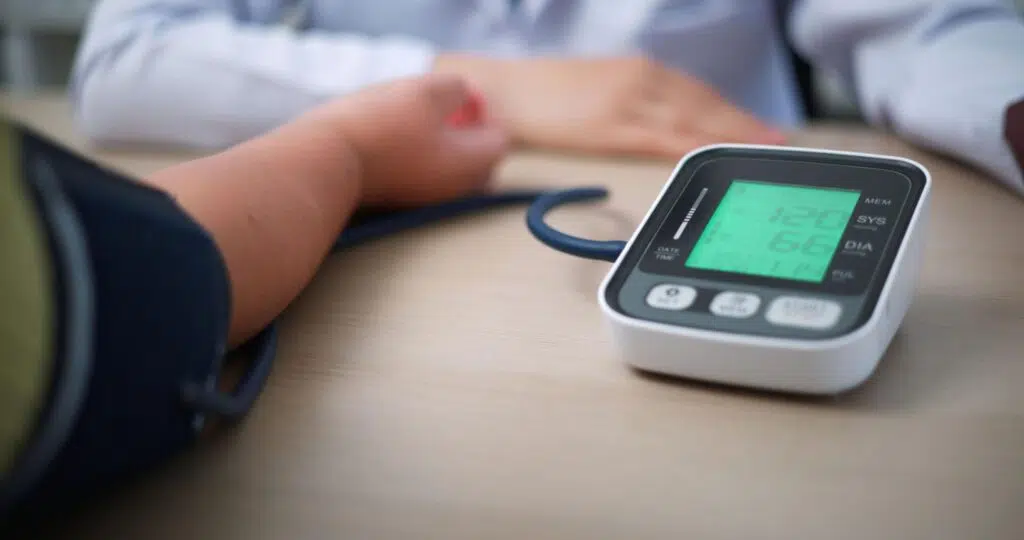
Step 2 — Sit in the Correct Position
Your sitting posture matters more than most people realise.
Correct posture:
- feet flat on the floor,
- back supported,
- arm resting on a table,
- cuff positioned at heart level.
Avoid:
- crossing legs,
- bending forward,
- or checking BP while standing.
Step 3 — Wrap the Cuff Properly
Place the cuff:
- around the upper arm,
- slightly above the elbow,
- snug but not extremely tight.
The cuff should fit comfortably and should not slide down during measurement.
Incorrect cuff placement is one of the biggest reasons for wrong blood pressure readings.
Step 4 — Stay Silent During Measurement
Once the machine starts:
- do not talk,
- do not move your arm,
- and avoid body movement.
Even small movements can affect accuracy.
Most digital BP monitors take around 30–60 seconds to show results.
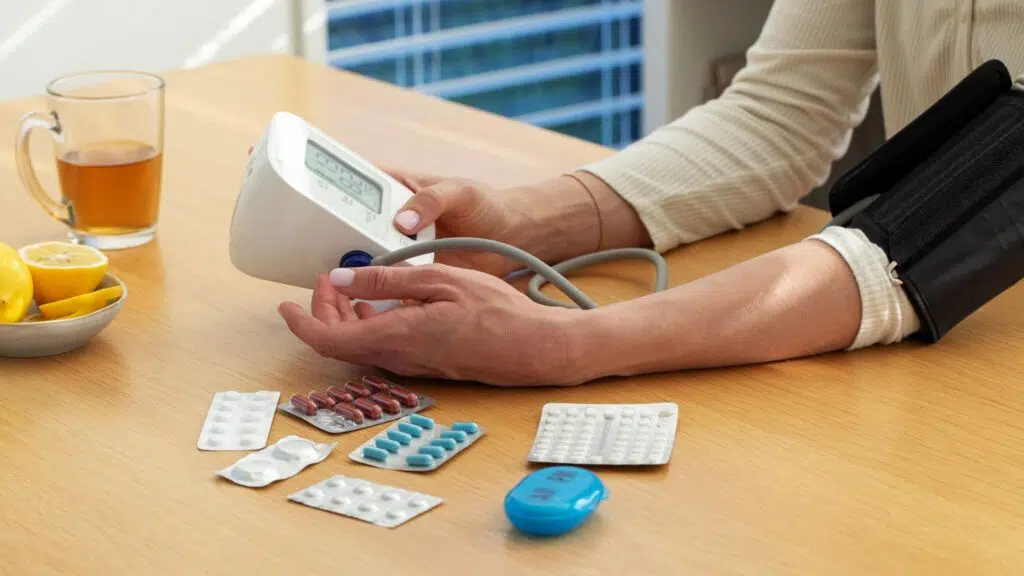
Step 5 — Record Your Reading
Write down:
- date,
- time,
- systolic pressure,
- diastolic pressure,
- pulse rate.
Tracking readings regularly helps doctors understand patterns better.
Normal Blood Pressure Range
Understanding your readings is equally important.
| Blood Pressure Category | Reading |
|---|---|
| Normal | Below 120/80 mmHg |
| Elevated | 120–129 / Below 80 |
| High BP Stage 1 | 130–139 / 80–89 |
| High BP Stage 2 | 140+/90+ |
| Very High | 180+/120+ |
These ranges are based on commonly followed hypertension guidelines.
Best Time to Check Blood Pressure
For consistent readings, check blood pressure:
- in the morning before breakfast,
- in the evening before dinner,
- at the same time daily if possible.
Avoid checking immediately after:
- meals,
- smoking,
- tea/coffee,
- stress,
- or exercise.
Common Mistakes While Checking Blood Pressure
Many people get inaccurate readings because of small mistakes.
1. Talking During Measurement
Talking can temporarily raise blood pressure.
2. Incorrect Sitting Position
Crossed legs or unsupported arms affect results.
3. Tight or Loose Cuff Placement
Improper cuff fitting changes accuracy.
4. Checking BP Immediately After Activity
Always rest before measurement.
5. Taking Only One Reading
Take 2 readings with a 1-minute gap for better accuracy.
Which BP Monitor Is Best for Home Use?
When choosing a BP monitor for home use, look for:
Easy Display
Large numbers are useful for elderly users.
Automatic Operation
One-touch operation is easier for daily use.
Memory Storage
Some machines store previous readings for tracking.
Comfortable Cuff Size
Proper cuff size improves accuracy.
Reliable Brand
Always choose a trusted medical equipment supplier.
Tips for Elderly Patients Using BP Monitors
For senior citizens:
- choose easy-to-read monitors,
- avoid complicated settings,
- use chairs with back support,
- and take readings calmly.
Families should also help elderly patients maintain a regular BP monitoring routine.
Frequently Asked Questions
How many times should I check blood pressure daily?
Most people can check once or twice daily unless advised otherwise by a doctor.
Can stress increase blood pressure temporarily?
Yes. Stress and anxiety can temporarily raise BP readings.
Which arm should I use for checking BP?
Use the arm recommended by your doctor. Usually, readings are taken from the left arm.
Is a digital BP monitor accurate?
Yes, if used correctly and maintained properly.
Final Thoughts
Checking blood pressure at home is simple, but proper technique makes a huge difference in accuracy.
Small habits like:
- sitting correctly,
- staying relaxed,
- and using the cuff properly
can help families monitor health more confidently.
At Healwell Surgitech, we aim to make home healthcare guidance easier, clearer, and more relatable for families who care deeply.
Need Help Choosing a BP Monitor?
Contact us for guidance on selecting the right digital blood pressure monitor for home use.
Additional Reads: How to choose the right wheelchair for home use